

I’ve spent over a month playing this, quite a bit of it going around in circles with no clue to what I’m doing most of the time. So to help those who decide to pick this title up, I’ve condensed some of my playing experiences into this article of tips and tricks. Enjoy!
Saviors of Sapphire Wings
1) The way through one’s heart is through their stomach.
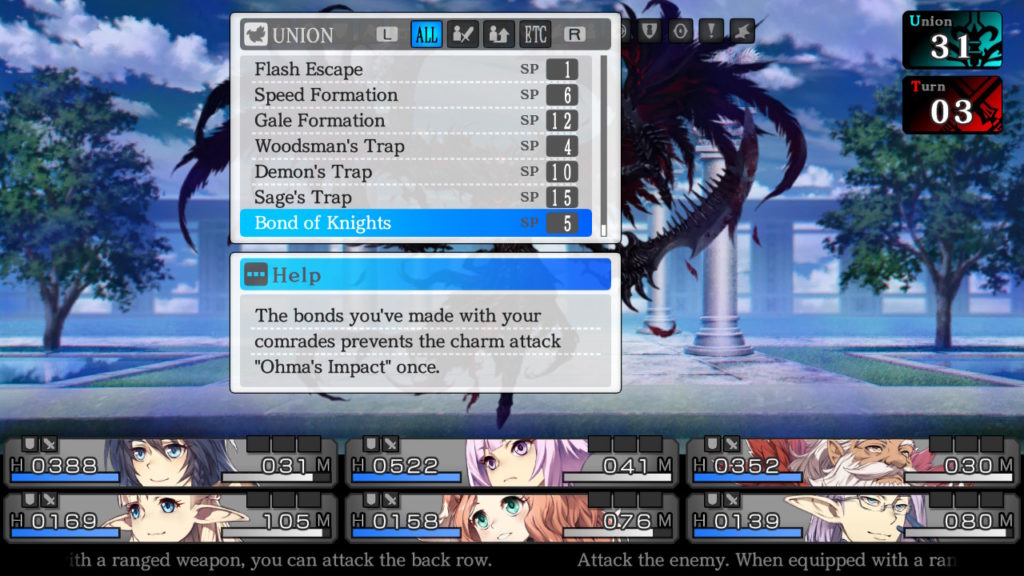
One important mechanic would be maintaining your team member’s Soul Bonds. This is important for two reasons: first higher Soul Bond level increases experience gain and also unlock the ability to use sub classes, and lastly you unlock Union Skills and also increase the total Union Points available to use said skills.
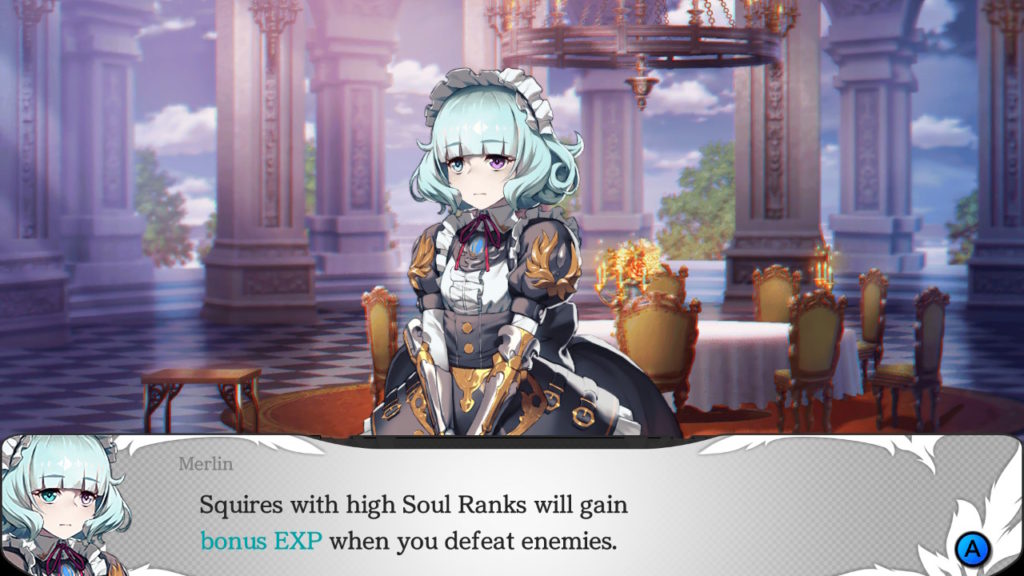
Your Soul Bond level increases naturally when you fight an win battles, though the converse is true for battles where your team performs poorly or if the main character falls. However to help speed up the process of increasing Soul Bonds, you can feed your team mates whenever you’re back in base. There is a limit (three times) of how many times you can feed at any one time (to avoid complete exploitation of this feature I guess), which recovers when you go dungeon delving and get hungry.
Still, despite this limit, it is beneficial in the long run to try and feed your team as and when you can. Especially when you get high quality versions of each member’s favourite foods. You can use alchemy to combine poorer quality ingredients into better ones (for example, combine 3 low quality flour to get better flour, that sort of thing). Also, don’t forget to cook them.
2) Bait and switch.
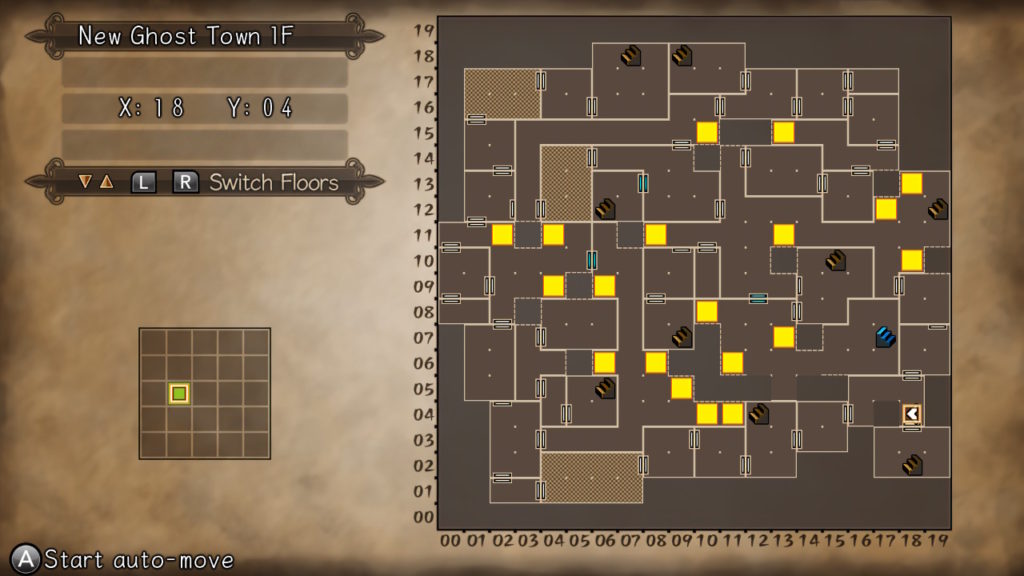
Those monster points you see around the map? You will need to use the correct item to bait to attract something to fight and ‘capture’ the point, once you win that is. Apart from needing to progress in the story, there is further incentive to clearing an area’s monster points. In most areas, doing so will reward the player some powerful equipment or items. Do note that monster points in later levels will require higher quality bait, which will also result in tougher fights.
Also as the video above shows, once a point is baited, you will need to wait a bit for some monster to come and grab it. Usually entering battle will speed up the process, but this game can be absolutely random in its encounters. Call it Murphy’s Law if you like, but it feels like every time I need a battle to get a monster in the bait, it takes an absolute age.
3) Classy subs.
When you unlock the ability to add sub classes to your characters, the combinations that can come out of this have the potential to be quite powerful. Here’s a quick summary on the different classes and what they can offer:
- Variant – Main Character only and available only as a main class. Provides immunity against charm.
- Fighter – Has access to powerful physical attacks.
- Paladin – Has the skill Devotion, which is very important in defending the entire party.
- Samurai – Allows dual wielding.
- Ranger – Boosts evasion.
- Wizard – Powerful spells plus the magic weapon buff. Also learns a levitating spell at level 30.
- Healer – Powerful heals plus the holy weapon buff. Has Mana Recovery which recovers mana as you walk in dungeons.
- Alchemist – Has Armor Mastery and Weapon Mastery.
- Druid – Can charm up to two monsters at a time to fight for the team. Also learns a levitating spell at level 30.
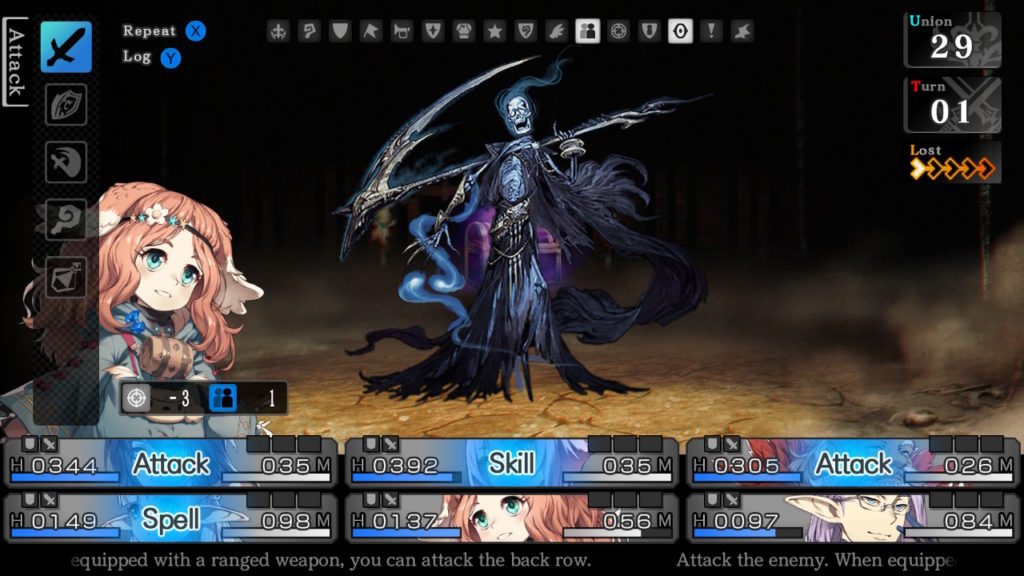
4) The right weapons, for the right time.
You’ll want to get weapons that can affect the undead and spirits, holy and magical respectively. Even better if the weapon in question has both attributes. If you don’t them, the Wizard or Healer in the party can buff your team up with the right enchantments while you go around looking weapons that do have these enchantments.
5) Save some of that for me.
In this title saving is unrestricted. Take advantage of this and save anytime you feel like you’re going to die or lose a bunch of Soul Bonds. Also, the time it takes to save feels instantaneous, so there really is no excuse for not having this extra layer of protection.
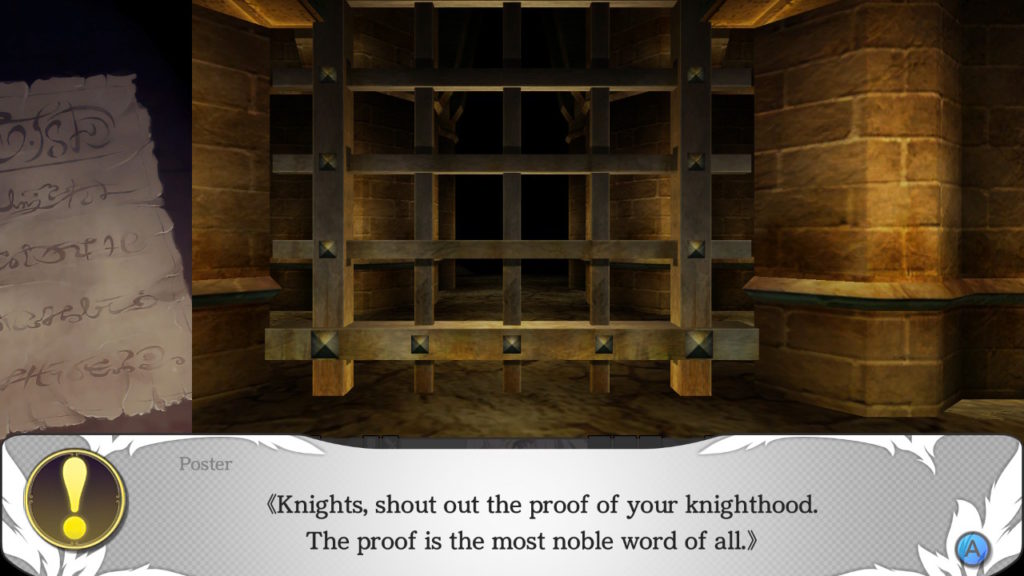
6) I don’t know what you want!
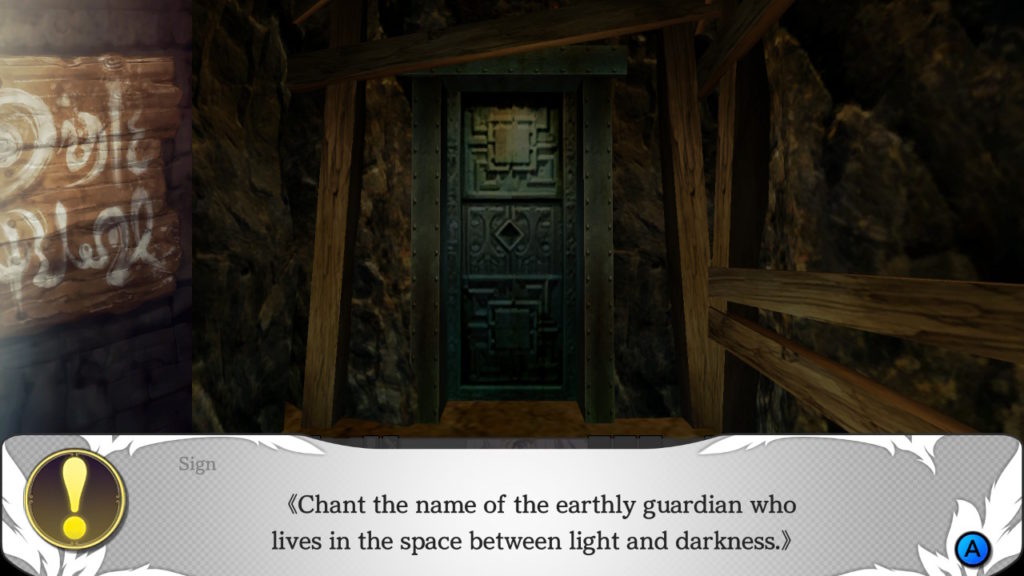
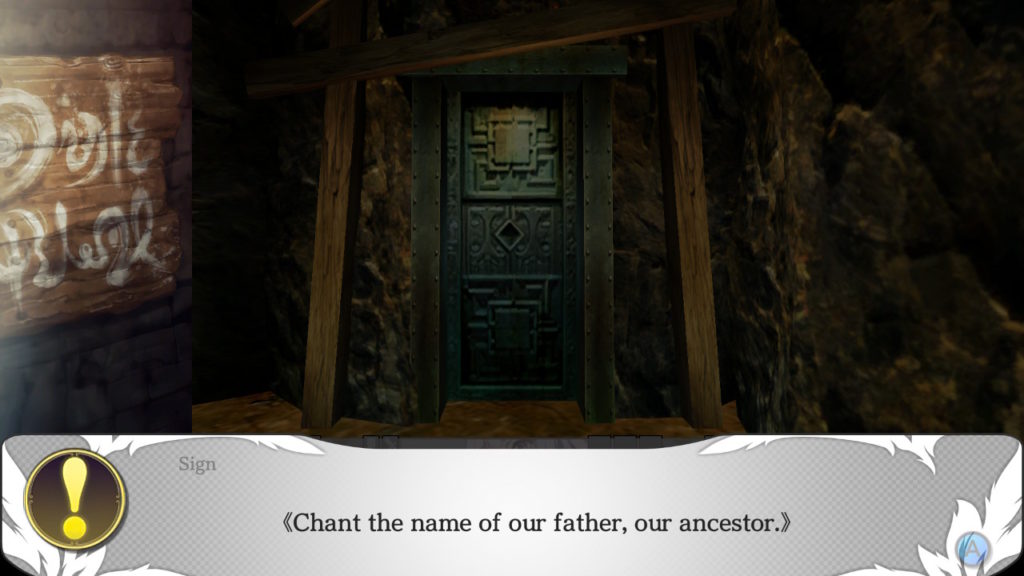
Feel like this when it comes to progressing quests? Here I’ve collected the answers to some of the game’s more confusing or obscure puzzles.
Strangers of Sword City: Revisited
1) How old are you?
The age chosen during character creation will determine the number of stat points you start with, as well as the number of life points your character has. Life points determine how many times your character can die before they are gone forever. As you expect, lower life points is less ideal, but fortunately they can be recovered. Quick overview of age:
- 10 – 19: 3 life points, 3 additional stat points
- 20 – 39: 2 life points, 5 additional stat points
- 40 – 59: 2 life points, 7 additional stat points
- 60 – 99: 1 life point, 10 additional stat points
So looking at this list, it’s just better to make all your characters around 40 to 59 years old. You could risk it with 1 life point, but you’re playing around with chance, especially with permadeath peeking around the corner. 3 life points however is a luxury, and not really required.
2) Keep rollin’ rollin’ rollin’ rollin’
In the process of creating your character, you will be given the opportunity to add onto the stats points you got from setting the age of your character. Through rolling for it. My advice would be anything +4 or more from the original figure is good enough. Try not to chase the elusive high values… you’ll just sink hours rolling and rolling and eventually the inevitable happens: you reroll on a great number.
3) Let the game heal you.
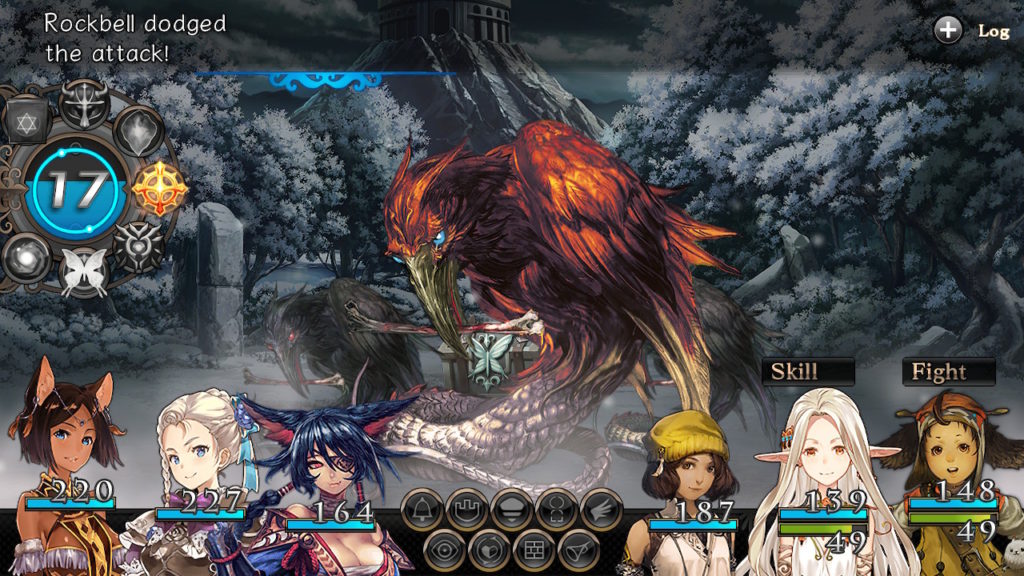
When you unlock the ability to use your blood stones to get Divinities, aim for Holy Light, which heals you for a percentage of your health every turn. This essentially gives you a powerful heal every turn on top of your healer (if you have one, and you should).
4) Hide and ambush.
There are areas in every map where you can hide (it’s a mechanic) and attack wandering enemy patrols. There are reasons to do this, sometimes certain bosses will only appear there, occasionally it might be to progress the story, but the main reason why you would ambush is for the loot. Don’t bother buying gear from the store at the base. You can easier fill your inventory to the brim simply going from hiding point to hiding point mugging any and all enemy patrols you come across.
Additionally, don’t be afraid to identify items when you’re out on the field. If some of them fail and turns cursed, returning back to town will clear the item from the cursed status and all’s good again.
5) Poison? I hardly knew her.
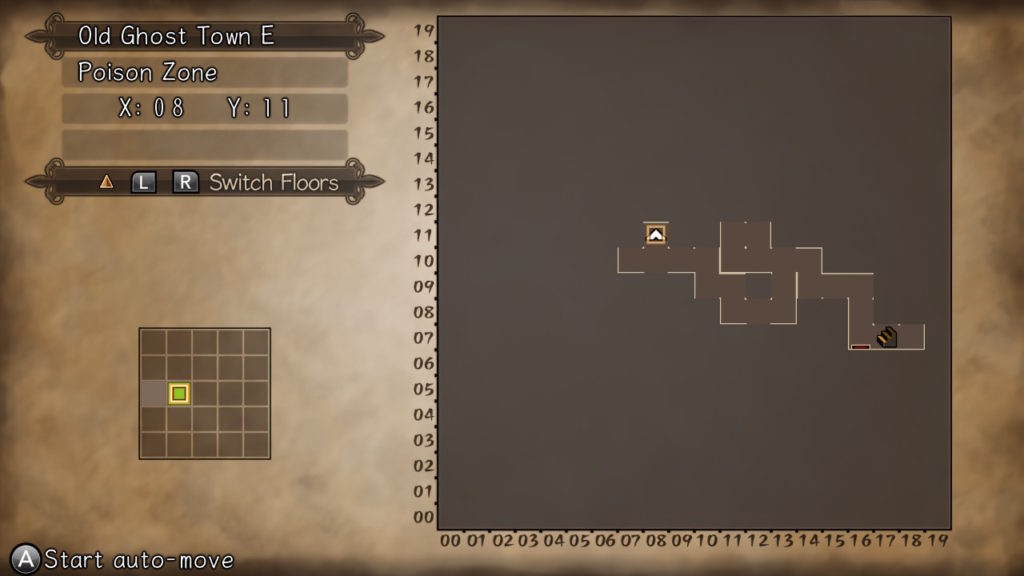
As you go through the game, you’ll encounter your first dungeon with poison tiles. While that is annoying in of itself, it’s nothing compared to the next floor where it is covered in toxic miasma. You could use the healer’s panacea or your supply of antidotes to cure your entire team every step of the way. An alternative (and vastly cheaper) method would be to find the Detox Gum series of equipment to kit your team out with poison immunity. You’ll find 5 of these equipment quite naturally as you go about exploring in that area with poison tiles. The sixth however is hidden away in the floor where everywhere is poison. The developers clearly has some animosity against players to be able to come up with such a mean tactic…
6) Advance in the opposite direction.
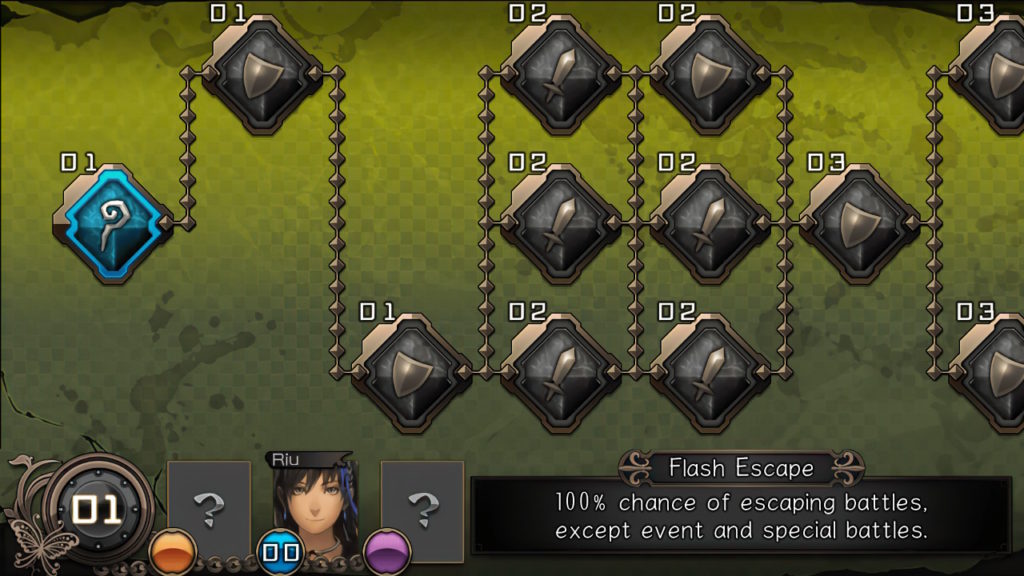
Remember that retreating is a valid option. There is a Divinity skill called Flash Escape that allows your team to escape any battle (minus a few story-based ones) and you will use this when you come across enemies that can (and will) wipe your party out.
Wrapping up…
I could go further for both games, but these should help somewhat. I will link below guides I found (it was actually very difficult to find one for Saviors) if you require even more elaborate help and guides. One final tip I would impart is that it is ok to play on Easy mode. Seriously.
Saviors of Sapphire Wings Guide: link
Stranger of Sword City: Revisited Guide: link

[Review] KONOSUBA – God’s Blessing on this Wonderful World! Love For These Clothes Of Desire! – Nintendo Switch

Developed By: MAGES. Inc. Published By: PQube Categories: Visual Novel…